How to organize your Squarespace images in the Asset Library

Let’s organize all your media files on your Squarespace website! Yep, there is an Asset Library that you can access and organize all the (maybe millions?) of images and videos that you have uploaded to your site. If you really do have a million images, you really don’t want to scroll through ALL those images to find the one that you are looking for! So this media library is a big deal! Especially for me because I like to have everything organized and easy to find! And sometimes I really just want to get rid of that image that I didn’t really didn’t want after all!
Here’s what you can do with the Squarespace Asset Library:
Upload images and videos
But first, how do we find that library of images? It can easily be found right on the main Home menu.

If, and this can seem to happen a lot, there is a change in the menu item locations, there is an awesome little shortcut you can use to find menu items that feel like they are hidden and impossible to find. Type / (forward slash key) to access the menu Search field and quickly find the item or settings. (In case this doesn’t seem to work for you, try clicking first anywhere on the Home menu sidebar and then type /)
For other shortcuts you can use in Squarespace, check out the post on Easy keyboard shortcuts to edit your Squarespace website like a pro.
The beauty of this Asset Library is that you can upload all the images and videos here that you want on your site. This is especially helpful if you have a bunch of images all optimized and ready to go. This will save you time in needing to upload them one at a time in the proper place on your site. This is also super helpful if you are using an image more than once on your site. You add the image once and use it wherever you need it on your site as many times as you’d like.
To add images directly to the library, click the + ADD NEW button on the top right corner of the screen and then click UPLOAD FILES.

You can also drag and drop your images onto the window. Your images can then all be found under FILES. You can add as many images as you’d like at a time. They do not have to be added one at a time.
(TIP: To grab more than one file at a time, you can click on the first image and then click Shift on your keyboard and select the last image to select all images in between.)
Be sure to optimize your images for a faster running site. If you need to know more about optimizing your images, see this post on Tips for beautiful website images for your brand and how to best format them.
Organize images and videos
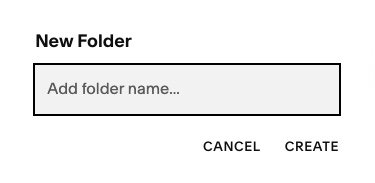
To organize your images and videos in the library, you can create folders. To add a folder, click the + ADD NEW button on the top right corner of the screen and then click FOLDER. Name your new folder and then click CREATE.
To add your images from the FILES section into your new folder, click to check the white box in the top left corner of the image. Once you have checked all the images you would like to move into a folder, click on the folder icon.

To view all your files in a folder, double click on the folder. You can sort your images or view your images as icons or in a list. You can also rename your folders by clicking on the three dots when you hover over the folder. From the three dots, you can also choose to move the folder to within another so that you have subfolders, or you can choose to delete the folder. This will also delete the images included. The other way to delete a folder is to select it and click on the trash can icon at the bottom of the window and then click Delete. (As seen in image above.) Luckily, you will always get the option to confirm your deletion!

Deleted images and videos
While organizing your library, if you delete content and then change your mind or accidentally delete the wrong image, you have 30 days to retrieve your content from the Trash menu in the Asset Library. Phew! If you move images and videos out of the Trash, it will restore them to their original location. This includes being able to restore a folder with all of its content.
Images that you have deleted from within your site are also collected in the Asset Library Trash. So again, if you delete an image or video by mistake, you can retrieve it, within 30 days of course.
If you delete a video, it will no longer count towards your video storage limit.
NOTE: There is a video storage limit for uploaded videos hosted by Squarespace. You can upload up to 30 minutes of videos. Read more about Adding videos to your site from Squarespace.
Be cautious when deleting content. If the image or video is being used within your site, that will cause the link to break and it will no longer appear on your site. Be sure to double-check for broken links if you are deleting duplicates.
Selecting images and videos within your site
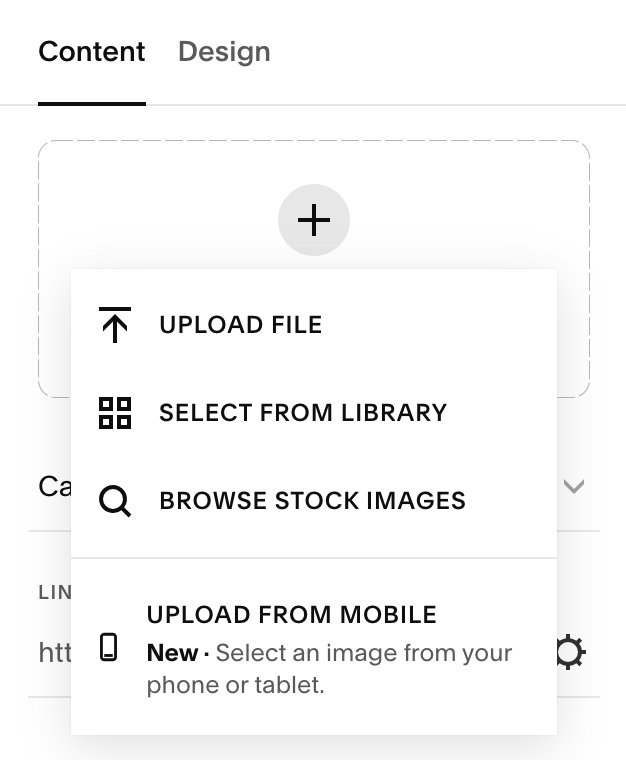
When adding an image or a video within any page on your site, you can choose SELECT FROM LIBRARY to use images or videos that you have already uploaded. You will find them sorted in the same way that they are organized in the Asset Library. It is best practice not to upload the same content to avoid having all those millions of images to sort through.
NOTE: There are some instances where the images do not sync with the Asset Library unless you have already uploaded them directly into the library. These images include Portfolio page images, Product featured images, and site logos (this only applies to Squarespace 7.0)
When adding an image, you can choose to add Free stock Images from Unsplash or paid Premium Images from Getty Image directly within Squarespace. These images will also be saved in your Asset Library. When ready to add an image or video, choose BROWSE STOCK IMAGES. These images can also be reused throughout your site without needing to re-upload them.
To learn more about anything that I may not have covered, read the article Managing and reusing images and videos by Squarespace.


