A good blog post with all the settings in Squarespace 7.1

I have to start this blog post with the default filler text that Squarespace uses in all its templates. It just kind of seemed like the perfect summary to start this post.
“It all begins with an idea…….. Whatever it is, the way you tell your story online can make all the difference.”
Right? What to write. That’s where it all starts. You have an idea that will answer a question that your target audience is searching for. How you write it (hopefully it’s you and not AI) will make a difference. And original content will help you rank higher in search results!
* This post contains affiliate links, as noted with an asterisk.* I may receive a small commission for any purchases you make through these links at no additional cost to you, of course.Keywords
Keywords are the words or phrases that are commonly used in searches to find the information that is being looked for. You want to use those keywords that your target audience is using to find your blog post.
A good resource for researching keywords is Keywords Everywhere.
An excellent article about everything you need to know about keywords is How to Do Keyword Research for SEO by SEOSpace*. (If you really want to up your SEO game, I suggest using the SEOSpace plugin*. This Chrome Extension is amazing! I just added this one to my favorite Chrome Extensions list (it wasn’t around when I first put together that list).
This Squarespace template text also covers it when it comes to writing your blog:
“Don’t worry about sounding professional. Sound like you. There are over 1.5 billion websites out there, but your story is what’s going to separate this one from the rest. If you read the words back and don’t hear your own voice in your head, that’s a good sign you still have more work to do.”
Outline
So start with an outline.
Remember to use keywords throughout, but use them naturally and don’t overuse them! This is called keyword stuffing. Google will catch on and doesn’t like it. Keywords are good for SEO but too many are actually not good! Focus on writing like you are having a conversation with your favorite client or customer.
Be strategic with your copywriting so you can connect with your audience. Along with your blog posts, this is important with all your website copy. Keep your paragraphs easy to read and short. Include:
Supportive Subheaders
STRONG HEADLINES
Write stand-alone statements.
Share the big important points with bullet points.
Make sure your copy is written so your reader can skim it easily. We know that time is precious and so is your information so make sure they can catch the good stuff easily!
One of the big questions on writing a blog post is How long should a blog post be? This very informative article breaks it down based on your content type. To summarize the answer, it does matter the length of your post, but it also depends on the intent of the post for your audience as to what the length is suggested to be. A good rule of thumb seems to be around 2,000 words. (This post is around 1,629 words. :)
After you have your post written — and don’t forget to edit it — now it’s time to write a strong title for your piece.
Headline
This should be your H1 heading and the only one on your page to boost your SEO.
Write a strong title that is between 50-60 characters, again for best SEO best. Of course, you will include a keyword or two here!
To help you along in writing that catchy, yet powerful headline, use Headline Studio to check your headline ranking.
Images
Images are said to be worth a thousand words, but they shouldn’t be a thousand MB in file size! Be sure to size and optimize all your images. They should be less than 500kb (ideally 250kb is considered to be best). Crop your images to be 1000px in width.
See these tips for how to format your beautiful website images.
My favorite recommendation for optimizing your images, after you have sized them, is by using tinyjpg.com (or tinypng.com since they are the same site).
When saving your images, be sure to use filenames for your image that include keywords. Do keep the filename fairly short (five words or less), but try to be descriptive.
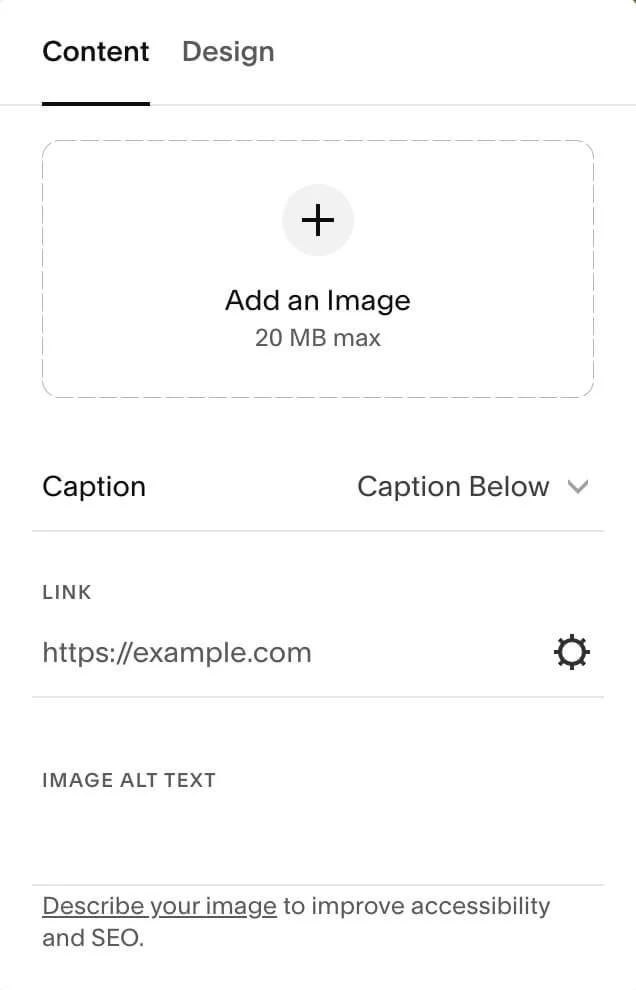
Write an alt text description when you add your images as another SEO boost to describe the image using keywords. This is also good for accessibility readers.
Links
Set your links for external websites to open in a new window. You don’t want to lead your audience completely away from your website. This allows your site to still be open in another tab so they have to go back to it.
If you are including affiliate links, be sure to add a disclosure. It is considered best practice to put this at the top of your post before the affiliate links. Since Google requires you to qualify any links in your site if they are affiliate links, it is necessary to add code for this. Squarespace unfortunately doesn’t have a built-in option for this. Hopefully, someday they will! Here is a great article on How to Add Affiliate Links in Squarespace by Christy Price. She does mention a fabulous new plugin by Will Myers, the Affiliate Link Genie, that you can purchase and easily add to your site to avoid needing the affiliate link code blocks. I do highly recommend this!
Optional
Good things to add at the end of your blog post pages …
More or Related Posts
You can add a summary block that uses your categories for choosing more posts related to that blog. This will keep your audience engaged and encourage further blog exploring.
Newsletter or Freebie
You can include a link to subscribe to your newsletter or offer a freebie for email subscribers.
Pinterest
Add images to Pin to Pinterest. You can add one or a couple of image options. You can also enable the Pinterest Save Buttons from the Home menu / Settings
See more on Adding Pinterest Save buttons from Squarespace.
Now it’s time to add your post to your website and include all the details to make it an even more powerful SEO clever post! (Remember to keep a backup copy of your post, just in case. And ‘cuz it’s always a good idea, here’s how to back up your Squarespace website.)
Blog Post Settings
These are the settings that you want to check off before you publish that post.
I’m including a checklist that you can download at the end of this post. Continue reading if you want the details first. :)
Now let’s go over each of the settings.
To get to the settings from the blog menu, click on the three dots next to the blog post you are ready to publish.
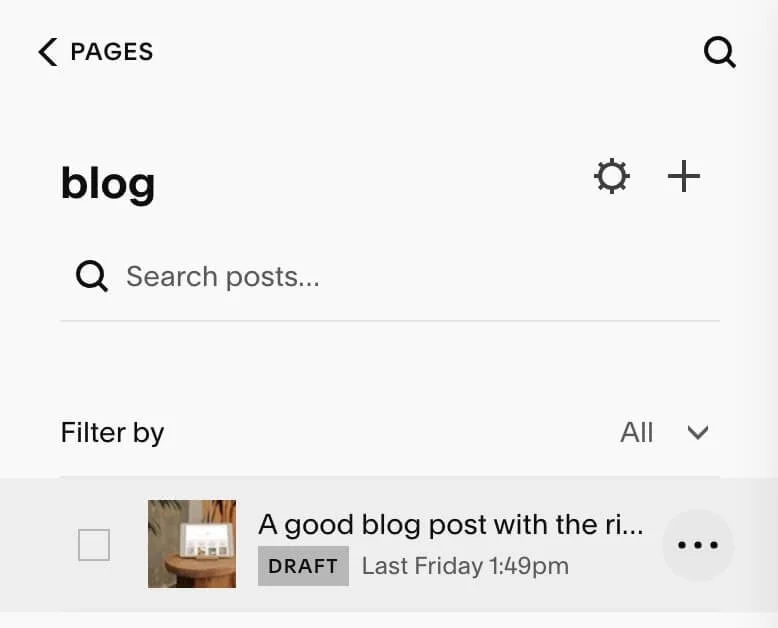
Remember you can create a DRAFT of your blog post and PUBLISH it later or SCHEDULE it to be published on a specific date and time.
Starting at the top in the settings:
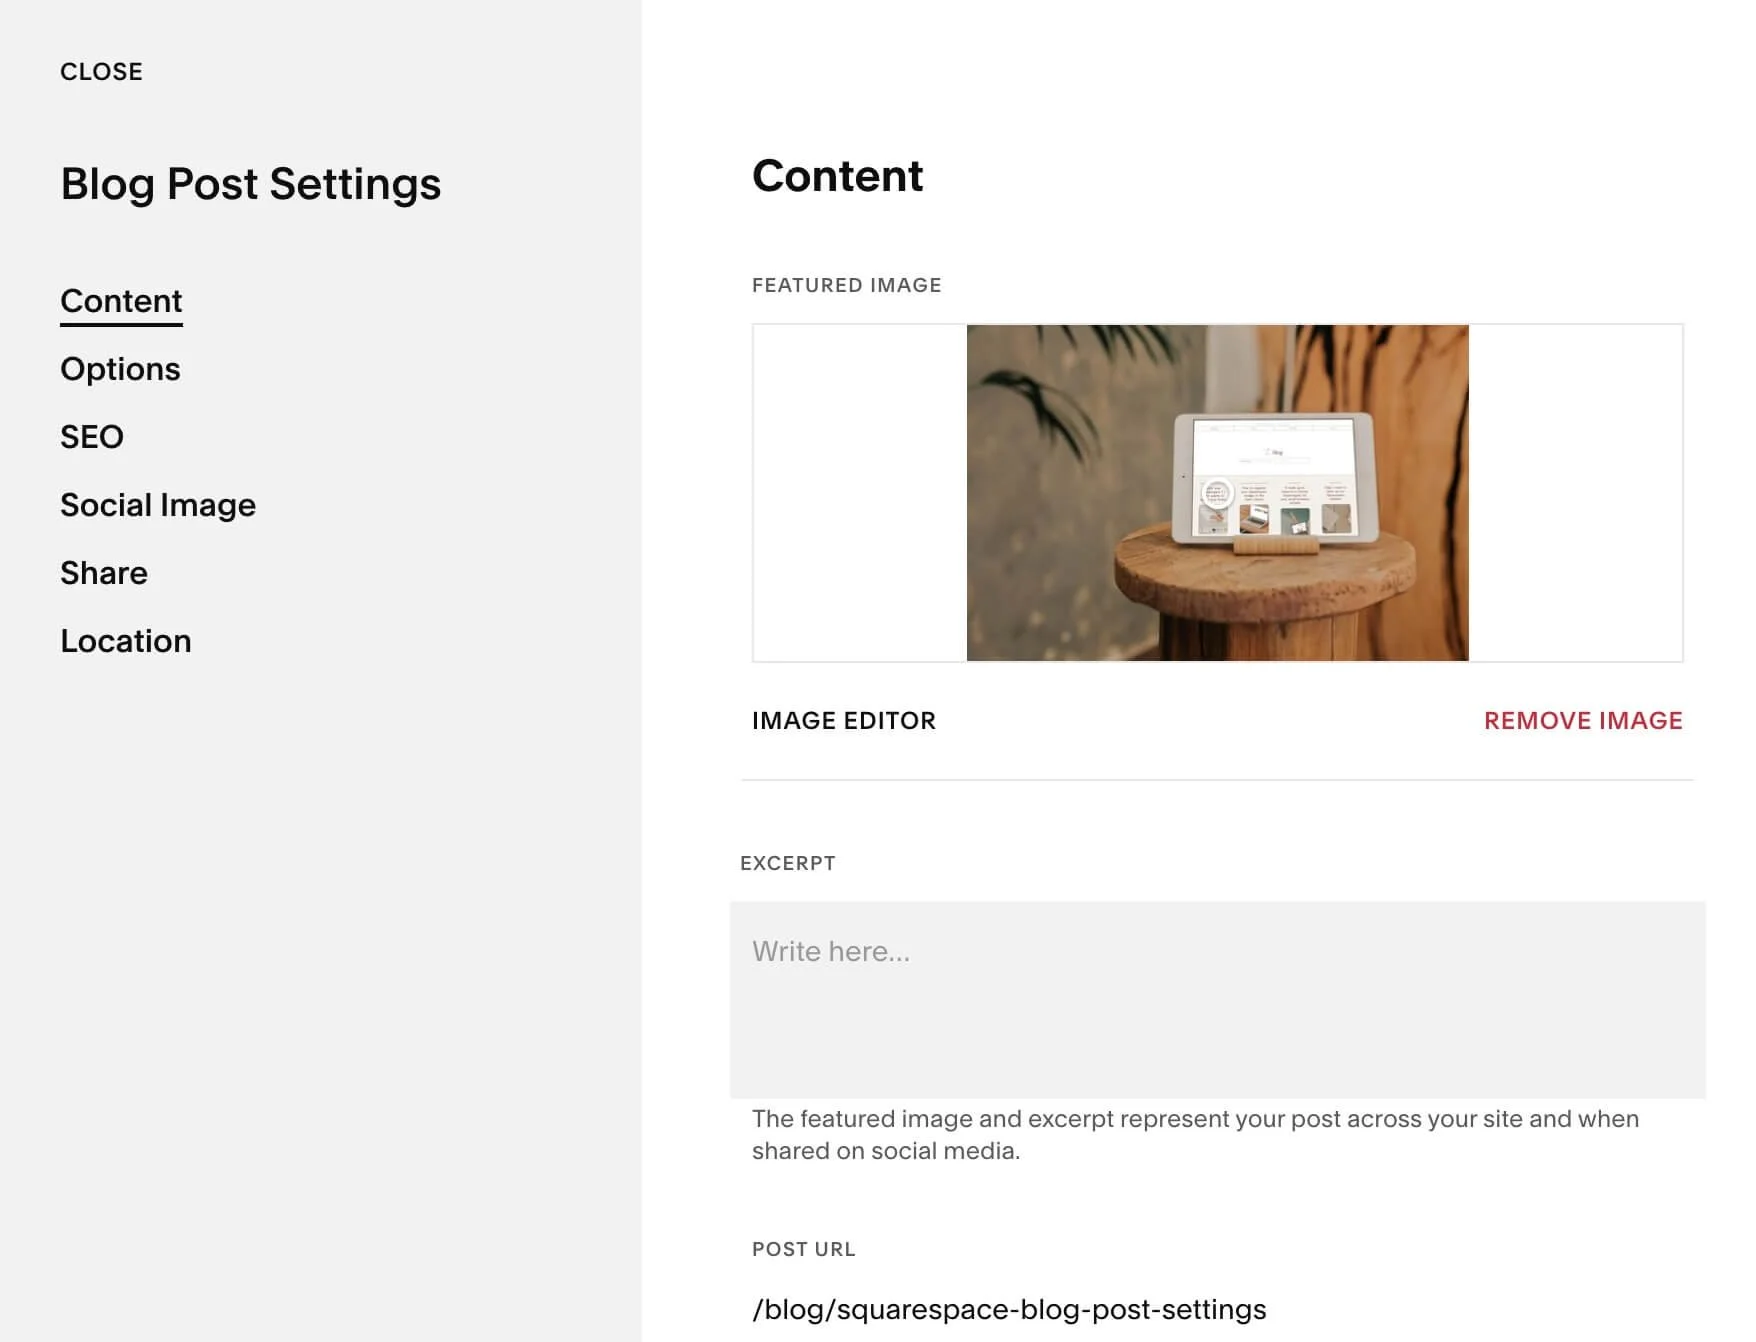
CONTENT
■ This is where you can add an optimized thumbnail image for the Blog landing page (use the search if reusing an image)
■ Write a brief excerpt about your post. You can choose to display an excerpt or not.
■ Edit the POST URL. By default, Squarespace will use the main blog page url followed by the title. You can change the last part of the url that refers to the post title. Include keywords and use 3-4 words for best SEO practice.
To change the url on the main Blog Page (where the thumbnails are), go to the settings on that page.
(To get to page settings, from the Home menu go to Website / Pages. Hover over the page in the menu and click on the tool ⚙︎ icon to the right.)
This is what mine looks like:
/blog/KEYWORD-TITLE-HERE
You can learn more about URL slugs from Squarespace.
OPTIONS
■ You can choose whether to Save as Draft, Publish or Schedule to post your blog later.
■ Select your Tags and Categories, if using for organizing your posts and of course, SEO.
■ Toggle for Comments to be On or Off for your post.
SEO
■ Add an SEO title that is between 50-60 characters (this can be the same or different from the post title).
■ Write a brief SEO description that is between 150 and 160 characters that summarizes your post.
SOCIAL IMAGE
■ Choose an alternate Social Sharing image, if you’d like something different than your site’s social image.
(Your site’s Social Sharing logo can be set from the Home Menu / Settings / Social Sharing)
Learn more about Adding social sharing images from Squarespace.
SHARE
■ If you are using Squarespace Email Campaigns, you can share your post in an email.
■ You can also share your blog post directly to Social Media (Facebook, Pinterest, LinkedIn, and/or Tumblr — these accounts will need to connected first. See Home Menu / Settings / Connected Accounts)
■ If you are using Google Search Console, you can connect it through your Connected Accounts (see above) and then toggle it on here in your settings to push your published posts directly to Google for indexing.
There are a lot of good checklists out there. To make it a little easier for you since you are already here, I have created a checklist for you as well that you can use for each blog post you write. Download it here.
Learn more about Blogging with Squarespace.
If you are interested in taking a course on blogging to grow your audience while generating some extra revenue, I have a fabulous recommendation for you!
How to Make Money with Your Blog by Christy Price*
I took this course so I can definitely say that it is a good one! You get really good tips on generating affiliate income PLUS bonus SEO tips, resources, and more!


